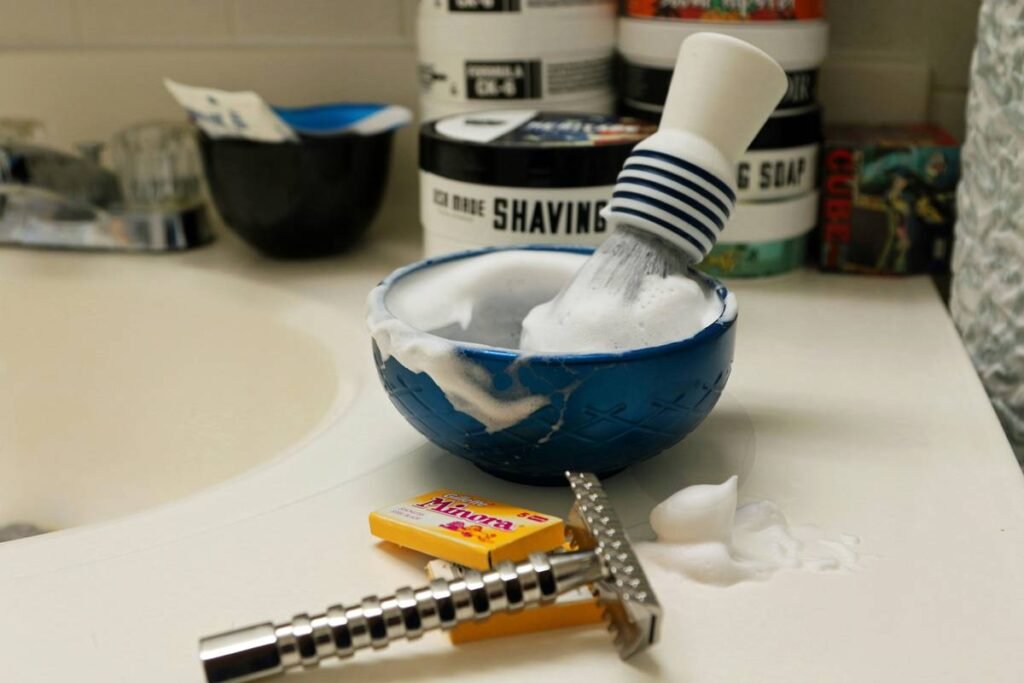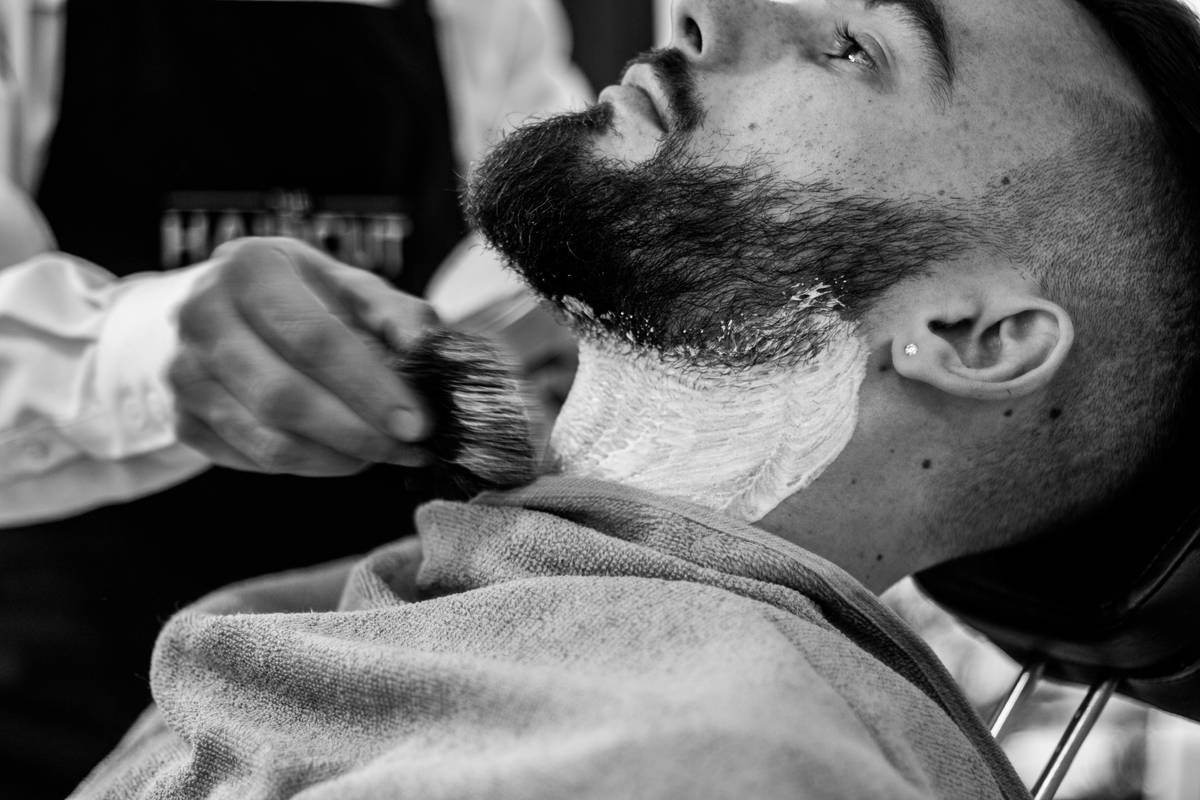
You’ve got the brush, the soap, maybe even a vintage bowl—but your lather looks like skim milk. Patchy. Thin. Useless against razor drag. It’s not your fault. Most tutorials skip the physics of foam formation entirely. Here’s the fix: forget “whipping.” Focus on hydration, temperature, and friction—three variables you control in under 90 seconds.
Why Your Current Method Fails (And Why YouTube Isn’t Helping)
Most guides tell you to “swirl until creamy.” That’s nonsense. Shaving soaps aren’t cake batter—they’re surfactant matrices that require precise water activation. Too much water? You drown the glycerin backbone. Too little? Fibers clump instead of aerating. And cold water? It stiffens tallow-based soaps into near-solid blocks. The result: wasted product, irritated skin, and zero cushion.
Here’s the reality: lather isn’t created—it’s coaxed. Like kneading sourdough, timing and touch matter more than brute force.
How to Create Lather with Shaving Soap: A Practitioner’s Protocol
Forget bloated routines. This 4-step method works with hard puck, soft croap, or shaving stick—no fancy gear needed.
Step 1: Prime Your Brush (The 30-Second Soak)
Dip your badger or boar brush in warm—not hot—water (105–110°F). Let it sit 30 seconds. Shake out excess until it stops dripping but still feels damp. Over-saturated bristles dilute your lather before it forms.
Step 2: Load the Soap—Dry First, Then Wet
Swirl the dry brush on the soap surface for 20–30 seconds. You’ll see white streaks—that’s stearic acid transferring. Now, add 3–5 drops of warm water directly onto the brush tip. This micro-hydration jumpstarts emulsification without flooding the matrix.
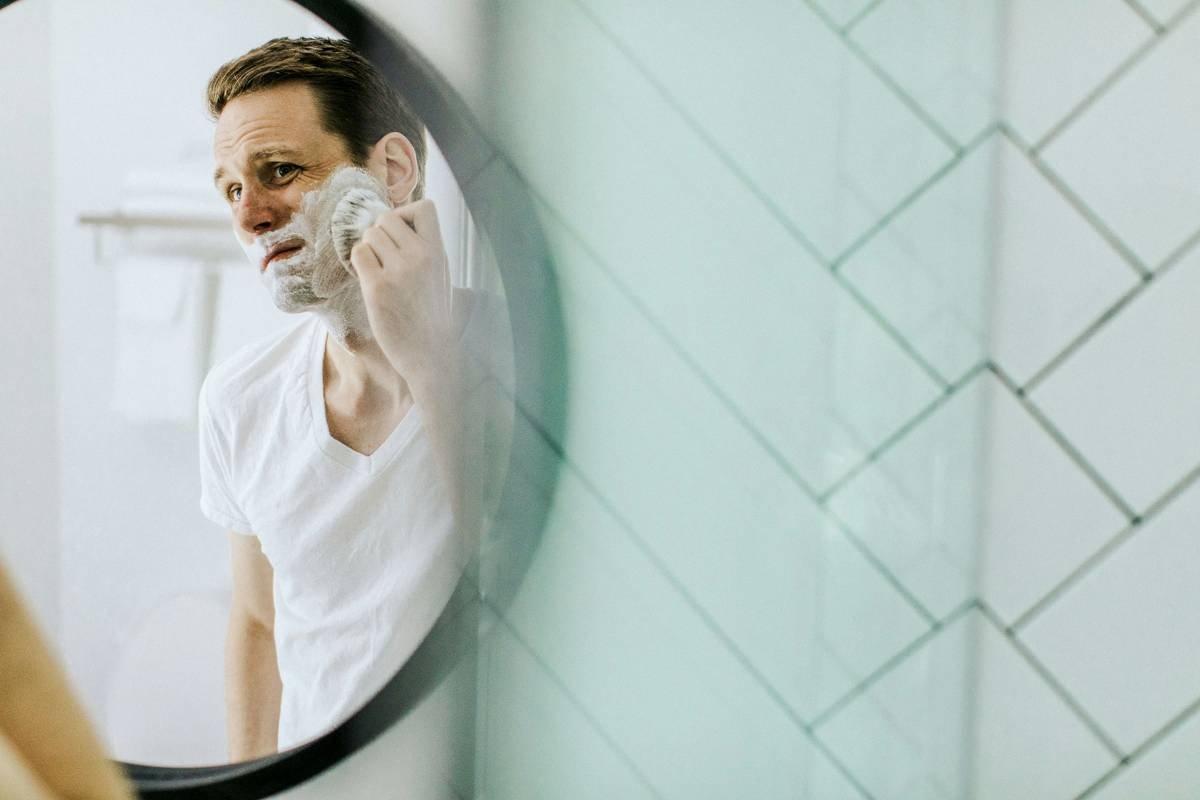
Step 3: Build in Bowl or Palm—But Control Pressure
Use circular motions with light pressure. Heavy pressing collapses air bubbles. Aim for 60–90 seconds total: 30 sec on soap, 60 sec building. Listen for the “squish”—a soft, pudding-like sound means you’ve hit peak viscosity.
Step 4: Test Before You Apply
Flick a dollop onto your wrist. It should hold a soft peak for 3+ seconds. If it runs, add soap by swirling brush back on puck. If too stiff, mist with water—never pour.
| Method | Time Required | Lather Quality | Beginner-Friendly? |
|---|---|---|---|
| Bowl Lathering (Traditional) | 90–120 sec | Dense, stable, high cushion | Yes—with practice |
| Palm Lathering | 75–90 sec | Lighter, faster, slightly less slick | Very |
| Mug Lathering (with ridges) | 60–80 sec | Fastest build; ideal for hard soaps | Yes—excellent for beginners |
The Barbershop Secret Nobody Talks About
Professional wet shavers don’t chase “creamy” lather—they aim for micro-aeration. The real difference between drugstore foam and artisanal lather? Bubble size. Smaller bubbles = more surface area = better blade glide and skin protection. How do they get it? They use less water than you think—and build lather at 110°F, not room temp. Warmth lowers surface tension, letting air integrate smoothly. Cold lather = large, unstable bubbles that pop on contact. Try this: heat your bowl under tap water for 15 seconds before starting. You’ll feel the difference instantly.
And yes—hard soaps actually lather better once broken in. That first 10 uses? The surface cures, becoming more receptive. Patience pays.
Frequently Asked Questions
Can I use tap water to create lather with shaving soap?
Yes—if your water isn’t extremely hard. High mineral content inhibits lather. Filtered or distilled water gives more consistent results.
Why does my lather collapse after 30 seconds?
Over-hydration. You added too much water too soon. Start drier next time—build moisture gradually during lathering, not before.
Does brush type affect lather quality?
Absolutely. Silvertip badger holds more water and creates finer bubbles. Boar brushes exfoliate better but need longer loading time. Synthetic fibers sit in the middle.