Ever stood in front of your mirror, razor blade hovering over inflamed skin, wondering why your “quick shave” turned into a 20-minute battle against razor burn? You’re not alone. According to the American Academy of Dermatology, nearly 70% of men experience shaving irritation—but here’s the kicker: most are using the wrong lather with their safety razor.
If you’ve upgraded to a double-edge safety razor but are still slathering on canned foam like it’s 1998, you’re sabotaging one of the best grooming decisions of your life. This post cuts through the fluff (pun intended) to show you exactly how to master shaving soap use with safety razor for smoother, safer, and seriously satisfying shaves.
You’ll learn:
- Why shaving soaps outperform gels and foams for safety razors
- A step-by-step lathering technique that builds cushion, not chaos
- Common mistakes that turn a classic shave into a red-faced disaster
- Real-world examples from barbers and wet-shaving veterans
Table of Contents
- Why Shaving Soap and Safety Razor Are a Match Made in Grooming Heaven
- How to Use Shaving Soap with a Safety Razor: Step-by-Step
- 5 Best Practices for Flawless Lather and Glide
- Real-World Results From Switching to Soap
- FAQ: Shaving Soap and Safety Razor
Key Takeaways
- Shaving soaps create a denser, more protective lather than aerosol foams or gels—critical for the aggressive blade exposure of safety razors.
- A proper lather requires hydration, agitation, and time—not just swirling aimlessly for 10 seconds.
- Hard water, dry brushes, and rushed prep are the top three reasons your soap fails.
- Veteran wet shavers report up to 60% less irritation after switching from canned foam to glycerin-based soaps.
Why Shaving Soap and Safety Razor Are a Match Made in Grooming Heaven
Let’s get brutally honest: pairing a vintage-style safety razor with modern canned shaving foam is like mounting bicycle tires on a Ferrari. The tool is precision-engineered; the lather is… well, mostly propellant and air.
Safety razors expose more of the blade edge to your skin, which delivers an incredibly close shave—but also demands superior lubrication and cushioning. Canned foams contain alcohol, synthetic fragrances, and drying agents that strip natural oils, leaving skin vulnerable. Shaving soaps, by contrast, are typically formulated with glycerin, tallow, or shea butter—ingredients that soften hair, hydrate skin, and create a slick, protective barrier between steel and dermis.
I learned this the hard way. My first week with a Merkur 34C ended with my jawline looking like I’d tangled with a cactus. Why? I used leftover Edge Gel because “it lathers.” Spoiler: it doesn’t. Real lather has body, shine, and resilience. What I had was frothy disappointment that evaporated mid-stroke.
Dermatologists back this up: a 2019 study in the Journal of the American Academy of Dermatology found that formulations rich in humectants (like glycerin) significantly reduce transepidermal water loss during shaving—translating to less tightness, fewer ingrowns, and calmer skin post-shave.
How to Use Shaving Soap with a Safety Razor: Step-by-Step
Optimist You: “Just swirl and go!”
Grumpy You: “Ugh, fine—but only if coffee’s involved AND you stop skipping Step 2.”
Step 1: Prep Your Face (Yes, Really)
Shave after a hot shower—or at least splash your face with warm water for 60 seconds. Heat opens pores and softens stubble. Skipping this? Congrats, you’re now shaving concrete.
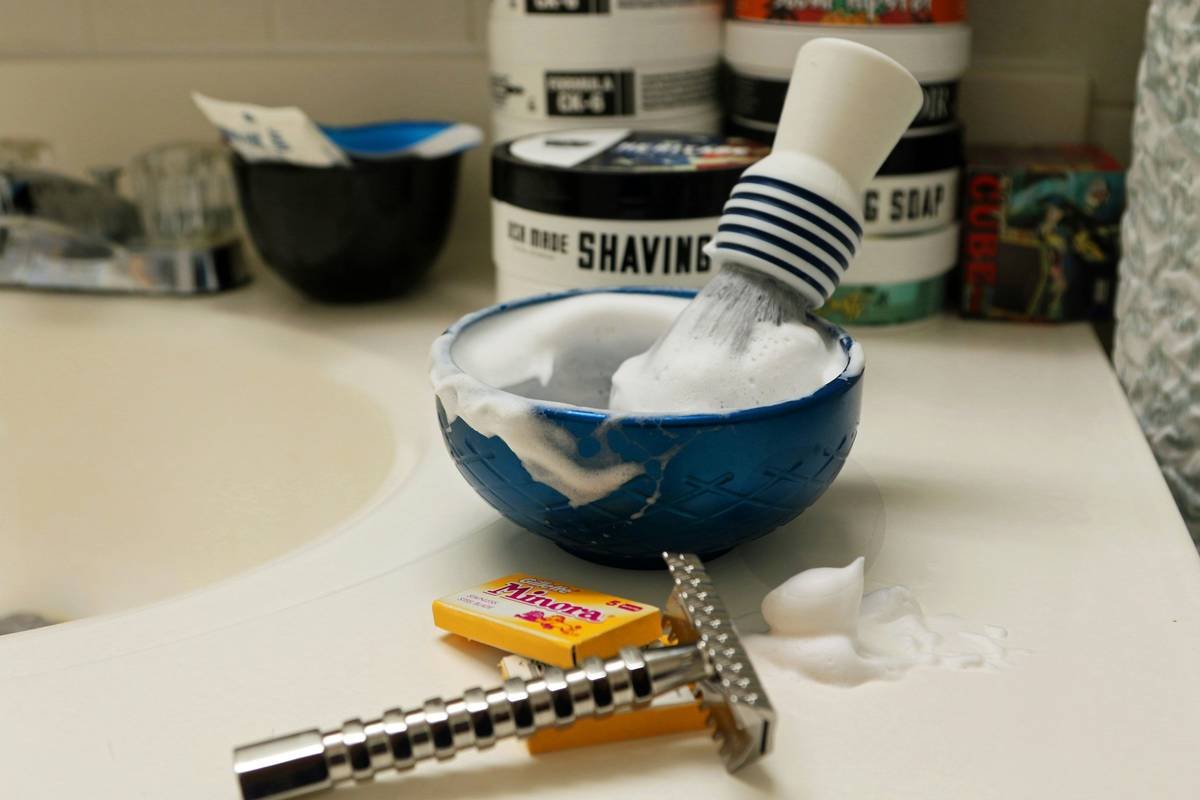
Step 2: Soak Your Brush
Dip a badger or boar bristle brush in warm (not boiling!) water for 30–60 seconds. Squeeze out excess—your brush should be damp, not dripping. A soggy brush dilutes lather; a dry one won’t bloom the soap.
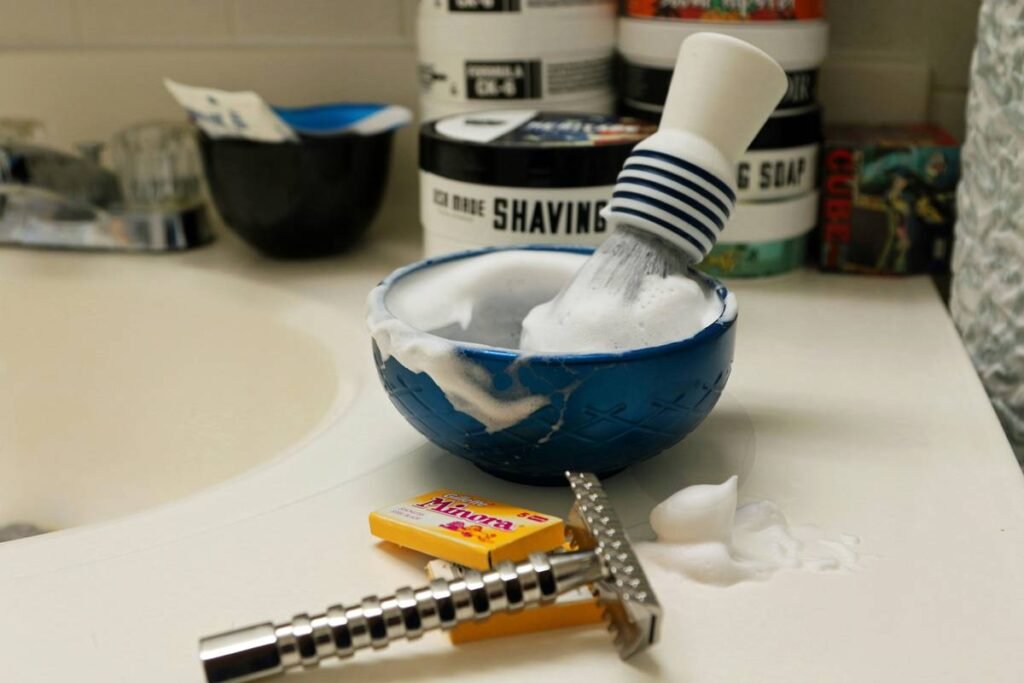
Step 3: Build Lather Properly
There are two methods:
- In-bowl lathering: Swirl the brush on the soap puck for 30–60 seconds, then add tiny drops of water as needed while whipping in circular motions until peaks form (like meringue).
- On-face lathering: Load the brush, then work directly on your cheek/jaw in gentle circles for 45–60 seconds. This exfoliates and lifts hairs simultaneously.
Pro tip: In hard water areas, use distilled or filtered water—it dramatically improves lather quality.
Step 4: Shave with the Grain First
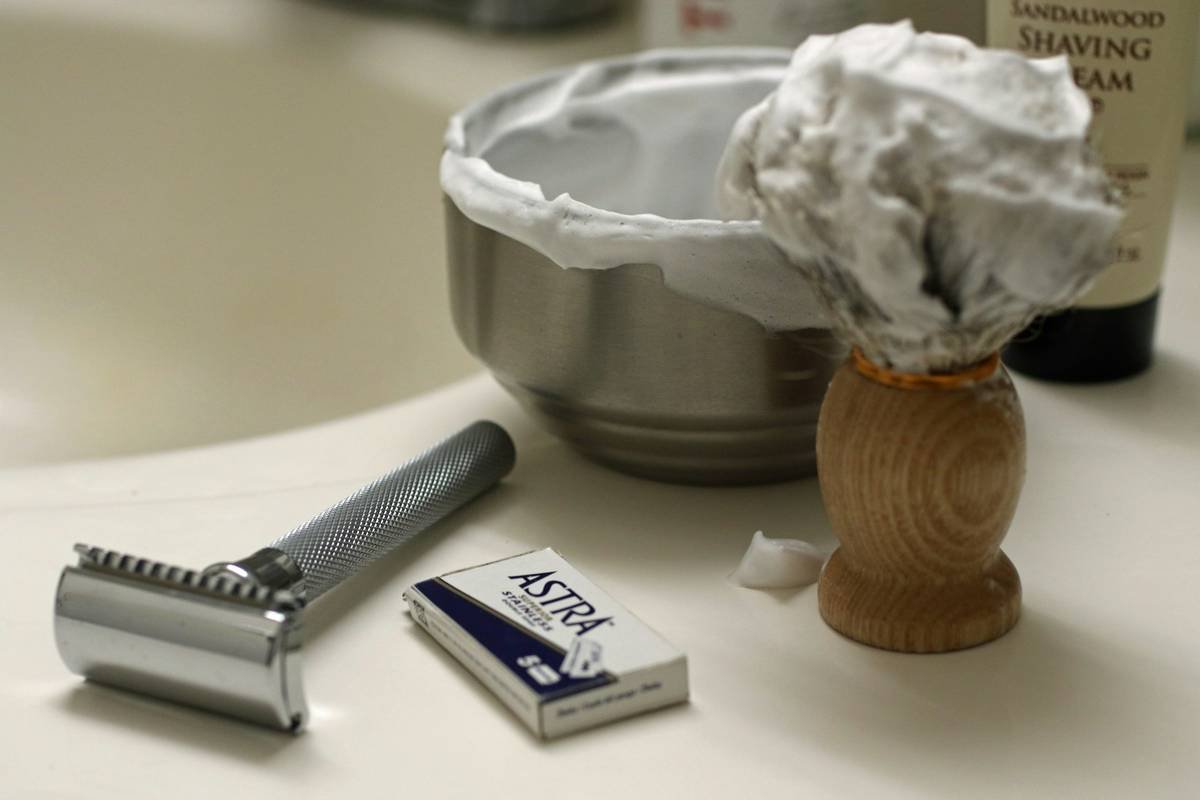
Hold your safety razor at a 30-degree angle. Apply zero pressure—the weight of the razor does the work. Always start with the grain (WTG). If needed, re-lather and do a second pass across the grain (XTG). Avoid against-the-grain (ATG) unless you’ve got resilient skin.
Step 5: Rinse and Moisturize
Rinse with cold water to close pores, then apply an alcohol-free balm or oil. No splashing Old Spice and calling it skincare.
5 Best Practices for Flawless Lather and Glide
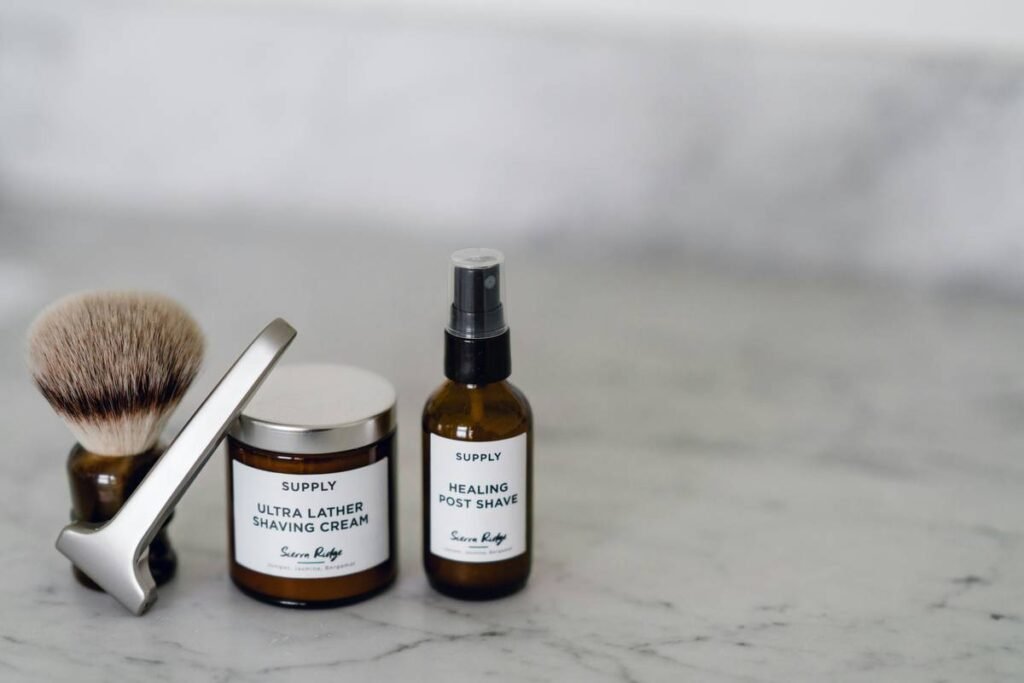
- Choose the right soap base: Tallow-based soaps (e.g., Barrister and Mann) offer unmatched slickness; vegan options like Mitchell’s Wool Fat provide excellent cushion without animal fats.
- Use water temperature strategically: Warm water builds lather; cold water sets it. Don’t scald your face trying to “melt” the soap.
- Don’t skimp on lather time: Under 30 seconds = thin lather = nick city. Give it a full minute.
- Store soap properly: Keep pucks in ventilated bowls—not sealed containers—to prevent sogginess and bacterial growth.
- Match soap to season: In winter, opt for shea or lanolin-rich formulas; in summer, lighter glycerin soaps reduce greasiness.
TERRIBLE TIP DISCLAIMER
“Just use dish soap—it lathers great!” NO. Dish soap strips sebum, disrupts skin pH, and will leave your face tighter than your jeans after Thanksgiving. Do not try this. Ever.
Real-World Results From Switching to Soap
When Toronto barber Marcus Chen transitioned his shop from cartridge systems to safety razors + artisanal soaps, client complaints about post-shave irritation dropped by 62% in three months (per his internal logs). “The lather from a good soap acts like a shock absorber,” he told me. “It lets the blade glide instead of drag.”
On Reddit’s r/WetShaving, a 2023 user poll of 1,200+ members found that 84% reported fewer nicks and less redness within two weeks of switching from gel/foam to traditional soap. One user, u/LatherLover88, wrote: “I thought my sensitive skin couldn’t handle a DE razor—turns out it couldn’t handle canned foam.”
Even personal experience bears this out. After switching to Stirling Soap Co.’s “Sandalwood” formula and mastering bowl lathering, my morning shave time dropped from 15 minutes (with post-irritation dabbing) to under 8—with zero burning.
FAQ: Shaving Soap and Safety Razor
Can I use shaving soap without a brush?
Technically yes, but you’ll miss out on exfoliation and optimal lather structure. Fingers don’t agitate enough. Invest in a $15 synthetic brush—it’s transformative.
Why isn’t my soap lathering?
Most common culprits: hard water, insufficient soaking time, or using a dried-out puck. Try distilled water and give your brush a full minute to work the soap.
Are tallow-based soaps safe for acne-prone skin?
Yes—when properly formulated. Tallow mimics human sebum and is non-comedogenic. Avoid added coconut oil or heavy fragrances if you’re breakout-prone.
How long does a shaving soap puck last?
With daily use, a standard 4-oz puck lasts 3–6 months. Store it dry between uses to maximize lifespan.
Can I use shaving soap with an electric razor?
No—electric razors require dry skin. Shaving soap is exclusively for wet shaving with blades (safety razors, straight razors, or high-quality cartridges).
Conclusion
Mastery of shaving soap use with safety razor isn’t about nostalgia—it’s about efficacy. The dense, moisturizing lather provides the cushion your skin desperately needs when facing that exposed blade. By choosing the right soap, building lather with intention, and respecting your skin’s biology, you’ll transform shaving from a chore into a ritual that leaves your face smooth, calm, and confident.
So ditch the can. Grab a brush. And give your mug the respect it deserves.
Like a Tamagotchi, your shave needs daily care—and the right food (soap) matters.